
Are you the type of teacher who sees something and immediately thinks, “I can make that.” Me too. In this post, I’ll share tips, tricks, and a few hard-earned lessons from painting my own teacher stool—so you can create a custom piece you’ll love (and actually use).
Why a Custom Teacher Stool?
Here’s a funny story. When my students work on their computers, I sometimes stand on a chair in the back of the room to keep an eye on things. The chair is small, I’m short—it works. That is, until my students started climbing up, pretending to be me, and saying, “Hey! I’m Miss Walls!” That’s when I knew something had to change.
Sure, I could’ve bought a stool and called it a day. But why settle when I could make one a million times cuter—and put my own name on it?
Finding a Stool
A brand-new wooden stool runs around $30. But we’re teachers, so we know how to hunt for bargains. Facebook Marketplace is a goldmine for classroom furniture, and I scored mine for just $8. It didn’t need to be perfect—classroom furniture rarely stays that way for long.
Planning Your Design
Jumping straight into a project is tempting, but trust me—mock-ups save time (and frustration). I sketched a complete plan for my stool before touching a paintbrush. It made the whole process smoother, since I knew exactly where every design element would go.
Prepping the Stool
- Wipe it down with a damp cloth to remove dirt.
- Sand with 150-grit sandpaper so the paint will stick.
- Spray with a white primer—two coats. I painted in two sections: first the legs, then the seat, flipping the stool between steps.
Adding Designs
I’m no paintbrush expert, so I used my Cricut to make stencils. Originally, I cut full-leg designs, but working in smaller stencil sections made placement much easier. I simply cut the full-leg piece into little squares

Stencil tip: When weeding your design, remove the parts where you want the paint to go, and leave the areas where you want the stool’s base color to show through.
To get a closer look at the cricut design, click the link here
Painting
You don’t need fancy paint—cheap acrylics (about $0.50 each) work just fine. Use a foam brush and dab the paint on in layers, letting each coat dry before adding the next.
I worried that removing the stencil while the paint was wet would cause smudging, but waiting until it dried actually prevented any bleeding.
Finishing Touches
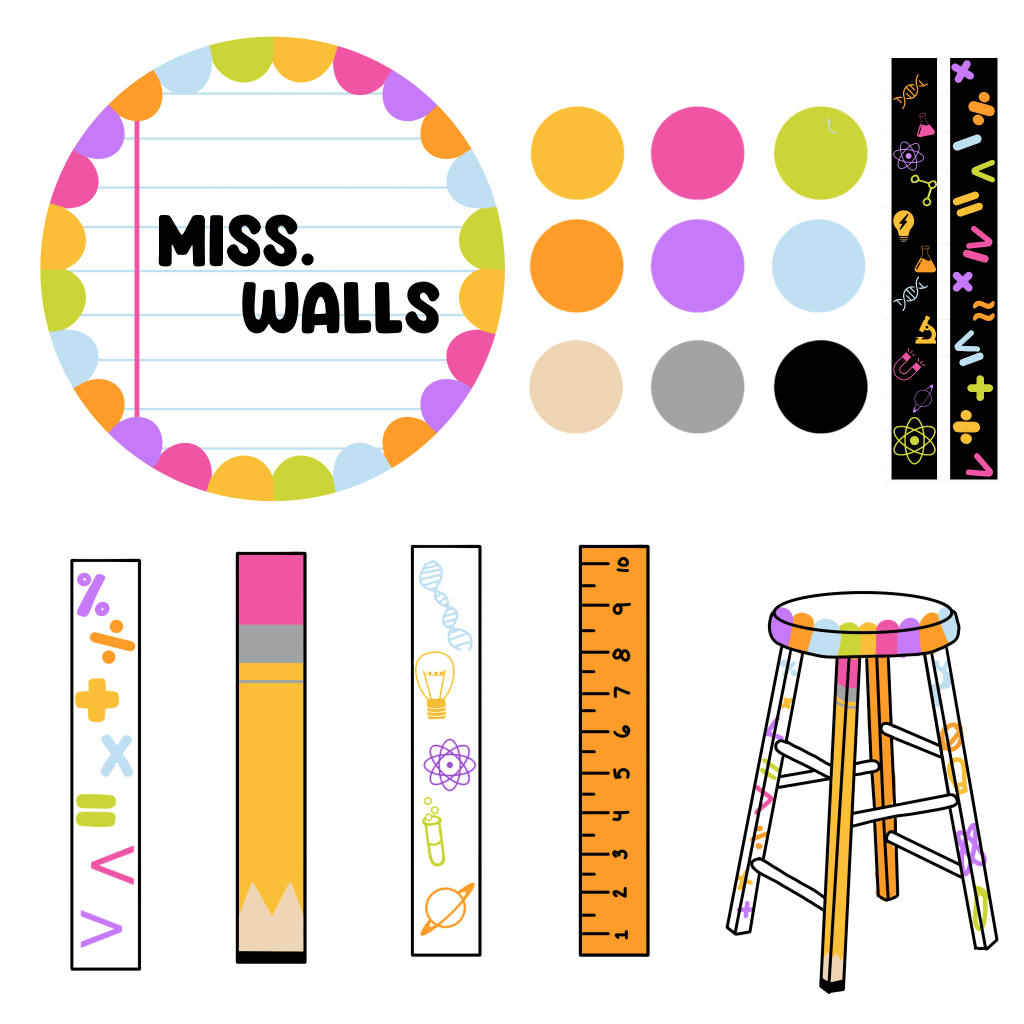
After the paint dried, I used a fine brush to fix any lines. Then I sealed everything with a clear coat. I added my name to the top using my Cricut—on top of the clear coat—so I could easily swap it if my name ever changes 💍.
Helpful Tips
- Don’t rush. Every mistake I made came from hurrying.
- Skip the Sharpie. I tried touching up with Sharpie, but when I sealed it, the ink bled. Disaster.
- Q-tips are magic. Dip one in water to fix small mistakes if you’re using acrylic paint.
Final Thoughts
This project took me about a week, working off and on. As a perfectionist, I noticed every tiny flaw during the process—but once it was finished, all I felt was pride.
Would I do it again? Honestly… no. But do I absolutely adore my new custom stool? 100% yes.

If interested, here is a complete list of materials I used for this project with clickable links!


Leave a comment